What are the chances of having the brake light and battery light turn on simultaneously when driving? It happens as rare as it seems, but I know you’re here to discover the reason behind this scenario.
The battery and brake light could occur because of many reasons. Let’s address each of the potential causes and how to turn these lights off. I’m sure you’ll find the solutions straightforward by the time you read to the end.
Table of Contents
What Does It Mean When The Battery And Brake Lights Turn On?
What Does It Mean When The Battery Light Turns On?
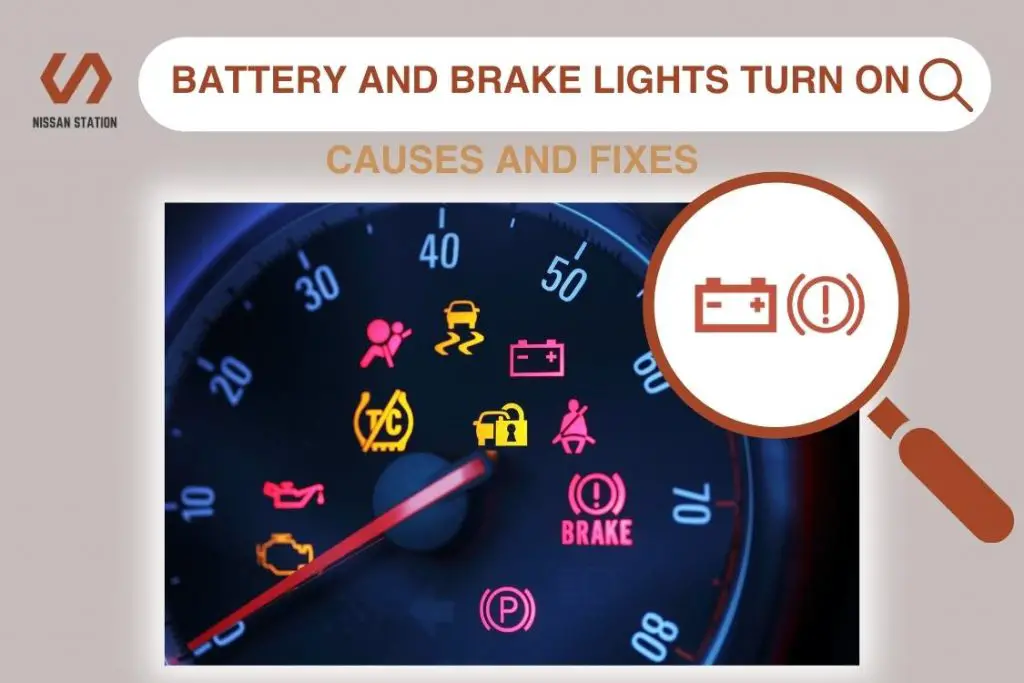
Normally, the battery light will turn on for a few seconds when you start your vehicle. However, if this still happens while driving, it’s a sign you can’t ignore. It shows a problem with the battery’s recharging system, and it’s only a matter of time before your car completely drains the battery.
What Does It Mean When The Brake Light Turns On?
The brake light turns on as you’re driving, which can be alarming, to say the least. There’s no need to panic, though. This light indicates a malfunction in the braking system. It lets you know that there are issues with the brake fluid, Anti-lock braking system (ABS), sensors, or the parking brake is engaged.
What Does It Mean When The Battery And Brake Lights Turn On At The Same Time?
It means that the battery and the braking system are having trouble. The vehicle’s computer system detects malfunctions and triggers the warning lights, which tell you there’s a need to act on the problem as soon as possible.
Is It Safe to Drive with the Battery and Brake Lights On?
It is dangerous to drive with the brake and battery lights on. They indicate imminent failure to run your car, which qualifies as an emergency since you can’t drive a long distance. It’s advisable to turn off all the electrical systems that do not contribute to the functioning of your vehicle. These are things like your stereo, power windows, cabin lights, and AC. This way, you can drive further before the battery drains completely. Nevertheless, do not turn off the headlights if you’re driving at night or in bad weather.
In case of long-distance driving, it’s best to contact a tow truck in case the vehicle dies to prevent being stranded on the road. Furthermore, you can stop by the roadside, perform a visual check, and see if you can make a few repairs before going to a mechanic’s shop. I’ve included simple fixes that can get you home in the next section. Still, some things need a mechanic to fix, as you’ll see.
Battery and Brake Lights Turn On: Causes and Fixes

Bad Alternator
When the battery and brake lights come on at the same time, there’s a 90% chance that the alternator is failing. The malfunctioning alternator cannot maintain the battery at full charge while all the electrical power for running the vehicle comes from the battery. As such, this triggers the battery light and other warning lights, and the brake light is one of them. Especially, in older cars, like the 1979 Datsun B210, the brake light circuit is connected to the alternator. Hence, a problem with the alternator will cause the brake to come on aside from the battery light.
Eventually, the battery will be drained completely, resulting in poor engine performance or stalling. Additionally, the engine will not restart after turning it off as the battery does not have enough charge to power the ignition.
When the alternator starts to malfunction, it showcases a few signs such as:
- A dead battery
- A battery warning light
- Frequent stalling or trouble starting your vehicle
- Accessories that are either slow or not working
- Growling noises from under the hood
- Headlights that are too dim or too bright due to inconsistent voltage supplied by the alternator
- A burning rubber smell from parts of the alternator since it’s close to the engine

How To Fix:
Visually Inspect The Alternator
The first thing is to check the physical state of the alternator. Look for a loose belt, dirt blocking the ventilation, or an over-tighten belt wearing out its bearings. If everything appears in good condition, proceed to the next step.
Check the Alternator Using a Multimeter
- Get a multimeter and set it to DC volts above 15.
- Connect the multimeter probes to the battery’s terminals.
- Look for the reading of around 12.6 volts with the engine off
- Ignite the engine and turn the accessories off, the reading should jump to between 14.2 and 14.7. This means the alternator is good.
- Turn the accessories on. The reading shouldn’t go below 13 volts.
- If any of these readings are off, it’s time to replace it.
How to Replace the Alternator
Step 1: Save Vehicle’s Preset Electronics
If your vehicle requires saving the preset electronics data, you will need a memory saver. Then, look at the owner’s manual to guide you on doing it.
Step 2: Disconnect the Battery
With the engine off, remove the negative battery cable. Also, lay the terminal away so that you don’t come into contact with it during the alternator changing process.
Step 3: Locate the Alternator
The alternator is usually mounted to the side of the front of the engine. You may need to get some things out the way, such as the intake hose, for enough room to access the alternator.
Step 4: Remove the Serpentine Belt
First, identify where the tensioner pulley is located on the alternator. You can use a belt tensioner tool like a long wrench. The tensioner pulley is spring-loaded, and it has one bolt. Use the belt tensioner tool to loosen the bolt on the tensioner pulley. This step pushes the pulley against the tensioner spring, loosening the serpentine belt.
Take off the belt from the alternator and tuck it such that it does not unwrap from the other pulleys.
Step 5: Take Out the Old Alternator and Install the New Alternator.
Remove the bolts that secure the alternator to the bracket. There can be three or four bolts. Getting the new one in is a simple process after removing the old alternator. Nonetheless, ensure that you get a similar alternator to the old one, including how the bolts are arranged.
Now, reverse the removal steps, including the serpentine belt and any parts that you removed.
You have successfully replaced the alternator.
Corroded Battery Cables Or Bad Wiring In The Charging System
If the wire is a little slack or it’s corroded, power is not getting to the battery as it should. It will cause the battery light to turn on. Similarly, a broken battery cable will not deliver power from the battery to the vehicle. Hence, the power is not being used, causing the battery warning light.
Lastly, the wires in the electrical system could be broken or disconnected, triggering the battery light.
How to Fix:
Step 1: Check for Corrosion
Remove the cover on the battery. Look out for green or whitish flakes around the terminals or on top of the battery. If you find corrosion residue, do not touch it with bare hands because it can cause severe irritation.

Step 2: Clean the Battery Terminals
Use a battery cleaning agent or baking soda and hot water to remove the corrosion. The cleaner should sit on the corrosion for a few minutes, then scrub it off with a toothbrush.
Step 3: Tighten the Cable Clamps
Inspect cable clamps for secure fastening to the battery terminals. If they are loose, choose the correct size socket to fit the nuts on the battery clamps. Then tighten the bolts of the cables that connect to the terminals.
Step 4: Check the Battery’s Ground
Perform a visual inspection of the ground strap. it’s safe to say that you will need to replace it.
Run a continuity test from the battery to the chassis using a multimeter set to read DC volts (12.5 to 12.8 volts).
Any signs of damage or a reading below 11.5 volts indicate problems with the grounding and you’ll have to replace it.
Low Brake Fluid
As an important component in the brake system, brake fluid helps increase pressure to stop the car. When the fluid starts to break down or a leak somehow occurs, the brake system’s function becomes much less effective, driving the brake light to come on.
How To Fix

Step 1: Check the Brake Fluid Level
Locate the brake fluid reservoir. It’s translucent in newer vehicles and has a clearly marked “full line.” All you have to do is look at the level without unscrewing the cap. In an older car with a metallic reservoir, you’ll need to lift the top off to inspect the brake fluid level.
Step 2: Fill the Brake Fluid
If the brake fluid level is low, add the proper amount to the fill line. Then replace any worn brake pads or have the vehicle inspected for leaks at a professional auto shop.
Engaged Parking Brake
When you leave the parking brake on while driving, it will cause the brake light to turn on, and it can include sudden beeps to warn you. The vehicle uses sensors to detect when the parking brake is activated even if it doesn’t appear engaged. While it’s not such a big deal, driving with the parking brake on can cause overheating and damage to the brakes and brake pads.
Anti-lock Braking System (ABS) Malfunction
Your vehicle will trigger the brake warning light when the ABS is having trouble, even if the ABS light is not on. If you’ve eliminated the brake fluid and the parking brake as the culprits behind the brake light, an auto technician can read codes from the ABS and determine the proper repair.
Defective sensors
Finally, the parking brake sensor or the brake master cylinder sensor that measures the brake fluid level may fail, causing the brake light to turn on. In this case, a qualified mechanic will determine the faulty sensor and replace it.
Conclusion
The battery and brake lights are not as complicated to fix as many drivers believe. By now, you can identify the cause of these warning lights and fix the issues with the helpful tips that I’ve discussed here.